Today I would be explaining to you how you can create a logo on Corel draw with images to guide you along.
NOTE: After finishing each step click back on Pick Tool before Continue to the next step.
1. Launch Coreldraw on your PC.
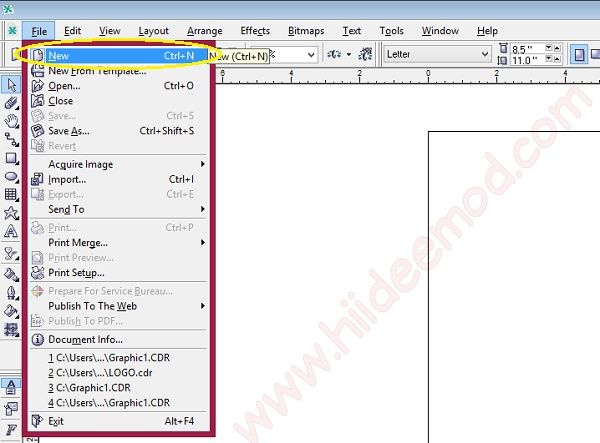
2. Click on File at the top left side of the monitor. Choose New and a new Corel sheet is out for you to work on. You can also do this by pressing CTRL+N on your keyboard.
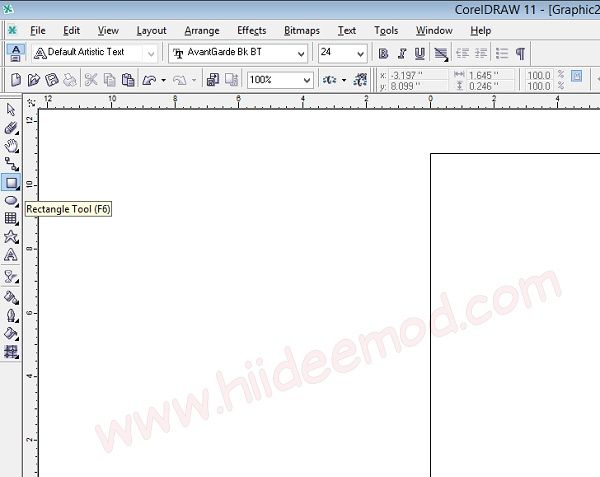
3. To draw a background for your logo choose “Rectangle Tool” from the Basic shape tools on the left side of the monitor. If you don't want background go to step 7.
4. To draw the rectangle hold left click on your mouse and drag the mouse to your desired size of the background.
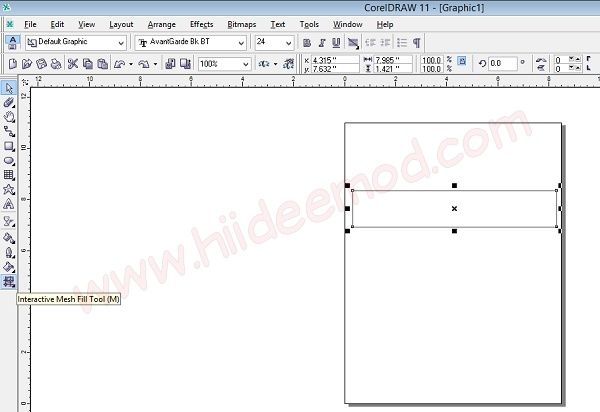
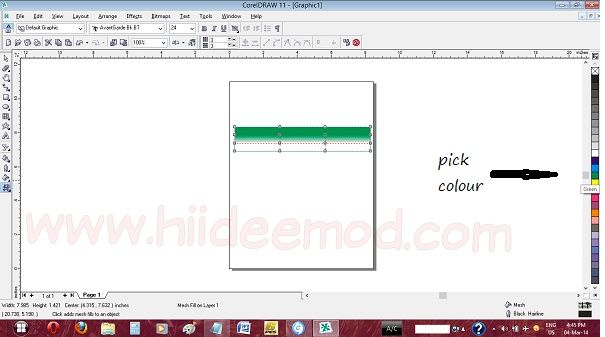
5. To provide a colorful background click on the rectangle drawn in step 4 and choose interactive Mesh Fill Tool from the left side.

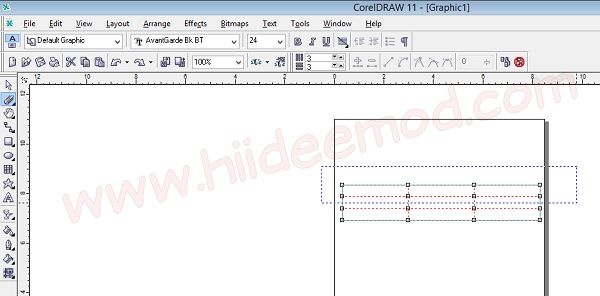
6. Highlight the area you want to paint/color by holding left-click and dragging the mouse. Choose a color from the right side by left-clicking on any color of your choice.
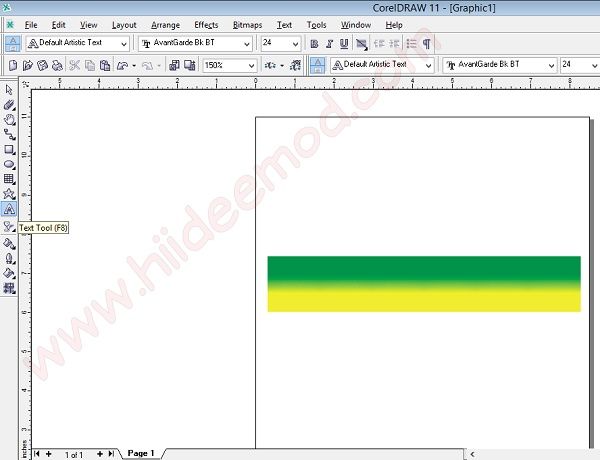
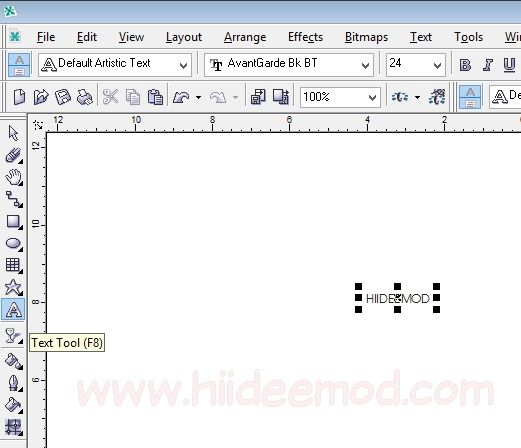
7. Text tool is used to add text. Pick the “Text Tool” from left side of the monitor and then click anywhere on the worksheet to write your text.
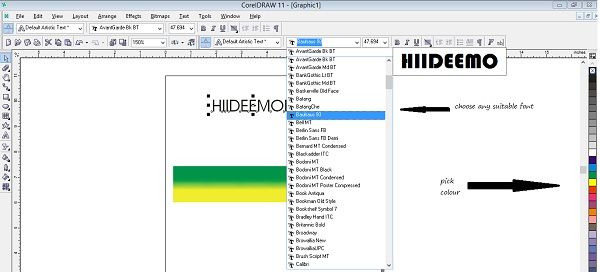
8. You can design the text by using the text toolbar at the top of the monitor. Resize font and give your text any font style your prefer. Click on the text back, to give the text outline a color right-click on any color from the right side, and to give the main text color left click on any color of your choice.
9. Use the pick tool to move the text to the background created for it. You can add more text depending on you.
10. Now if you would like to add an image to your logo. Minimize your work and go to your photo library or where you saved thr image you want to add. Right Click on it and choose copy. Go back to your Corel draw and right-click anywhere on the monitor and choose paste.
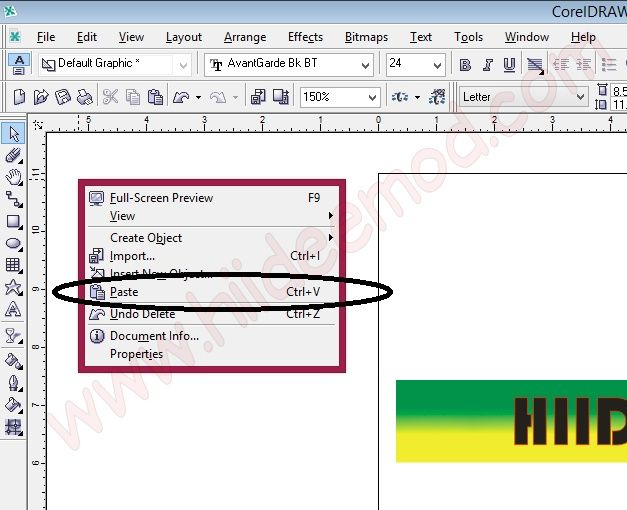
11. Use the Pick Tool to resize and move your image to the desired location on the background created in steps 3 – 6.
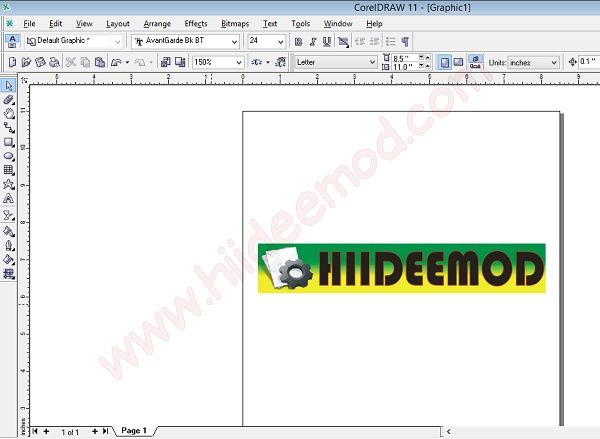
Now your logo is created it remains how to save it to your computer as an image format (.png, .jpg, .gif).
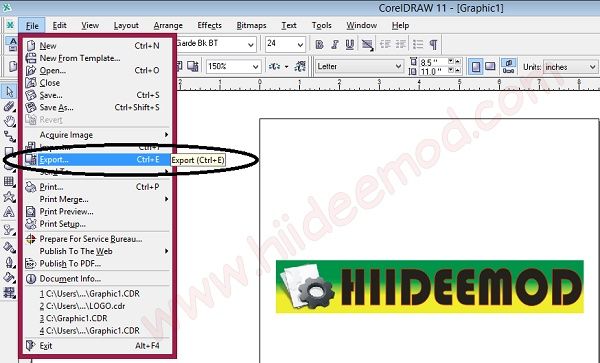
12. Click on file at the top left of the monitor and choose export file. This can also be done by pressing CTRL + E buttons on your keyboard.
13. Choose your desired location to save the file and choose a format of your choice. it is preferable you choose png format for the logo.
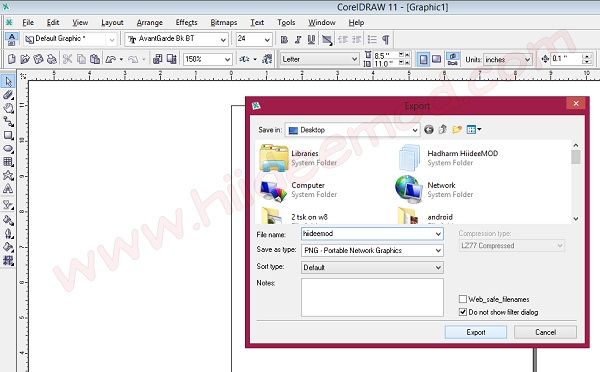
14. Customize the logo as you want or leave it default as set there and click ok. There is also an option for transparency in the customization.
Now go to your photo library to check your logo. Mine is displayed below.
NOTE: You can also customize the logo more than that if only you know how to use Corel draw with the tools.
Are you now able to create a logo by yourself or you have any problem with the tutorial, kindly use the comment box below.


Realy nice Corel Draw x3 activation code post thanks for sharing .
use this DRIDCEM-3760513-PUX