Have you ever come up with a situation in your life where you accidently delete your important files? Or you delete some files because you think there is no need of them, and then, later on, you find out that those deleted files were the most important one. So, the solution to such situation is “EaseUS Data Recovery Wizard”.
This data recovery software is available for both Windows and Mac, but in this post, I will show you from my personal experience that how to recover files on the Windows operating system.
Installing Data Recovery Wizard:
You can easily download this recovery software, and it will only take 60-70 seconds to install. While installing the software, I did not face any problems because the options mentioned were self-explanatory.
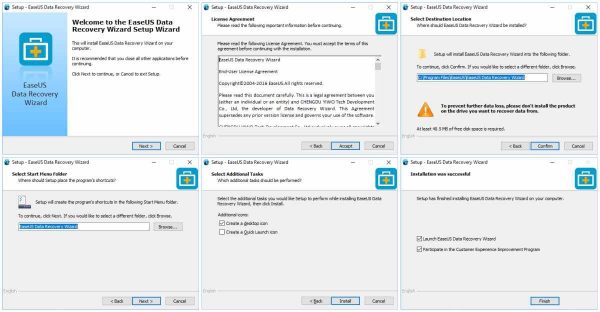
Once the installation is completed, EaseUS Data Recovery Software free will be open until and unless the option “Launch EaseUS Data Recovery Wizard” is checked.
How To Use Data Recovery Wizard?
This software has a very simple and easy-to-use interface. But one thing I noticed was that there was a lack of menu bar (which should be there), but instead, I found some icons in the top right corner.
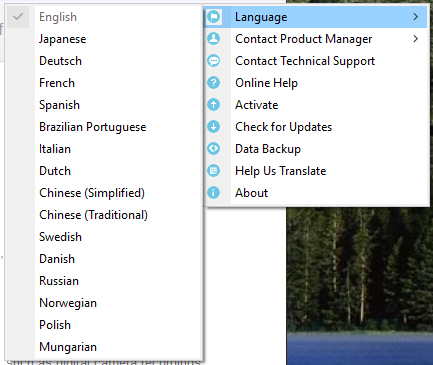
You can select your desired language or can get help from some options mentioned just by clicking the menu icon.
What do you want to Search and Where to Search?
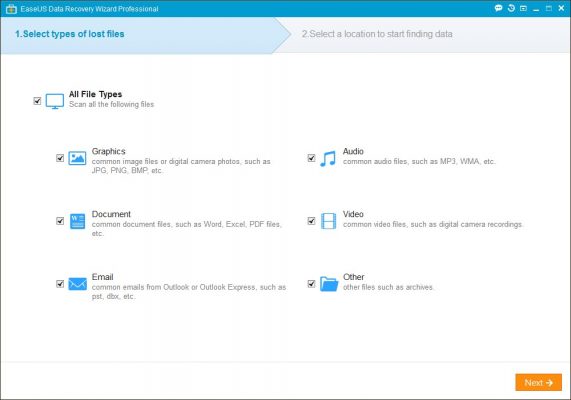
Once I got started, it was a common fact that I had to start up with a Home Page and from there I could select the type of files to recovered.
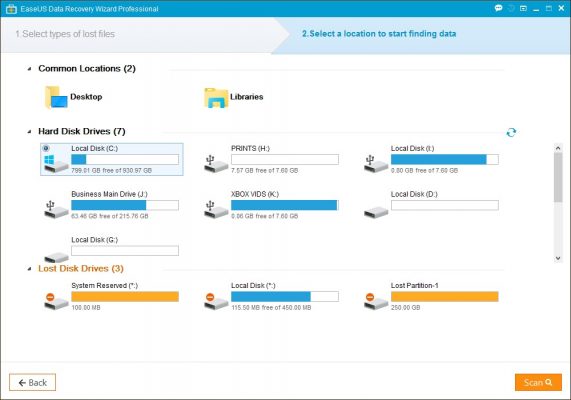
After selecting the type of files to be recovered, I saw the next screen in which I had to choose a location for the recovery. Remember that you can choose only one location at a time for recovery.
Quick Scan Vs Deep Scan:
After selecting the drive I finally clicked on the “Scan” button, and it scanned my drive in a very quick time of just 4 minutes.
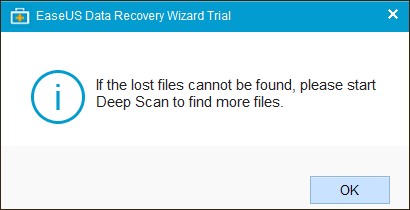
The Quick Scan does not find all of the deleted files as compared to the Deep Scan. Deep Scan takes about 2-3 hours of time and finds out all of the deleted files. You can search for a Deep Scan button in the bottom left corner.
If the scanning process is taking more time than you expected, you can simply pause or stop the process. You can view the recovered files even if the process is paused as well.
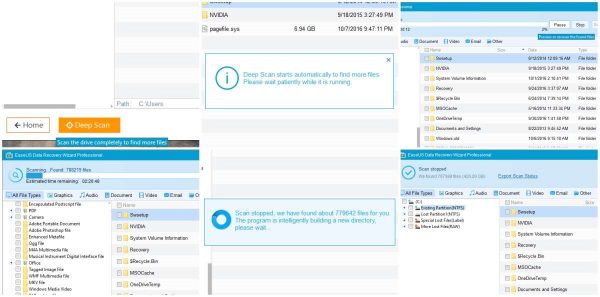
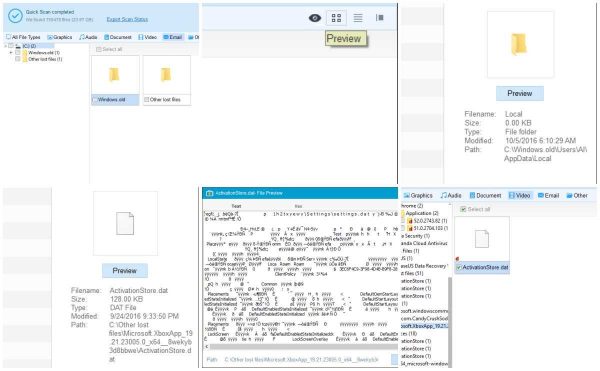
The recoverable files can be seen in a sorted form, as a list or as icons as show below.
If you are doing a Deep Scan, I noticed that it will make your system very slow and you cannot or should not do any work until the scan has completed. The reason you can see in the picture below.
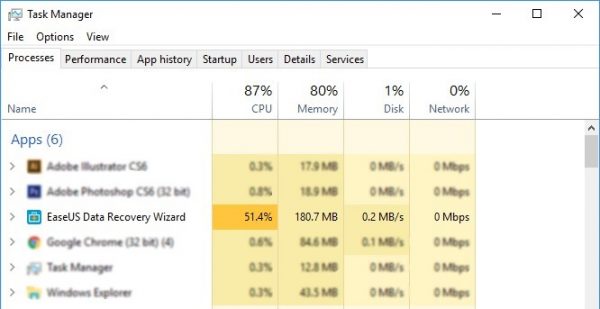
The best time to start a Deep Scan is while you are going to bed and leave your system ON.
Recovering What Was Lost:
After the scan was finished, I could see that I can recover each file separately or select all the files to be recovered and click on the button “Recover” located in the bottom right corner.
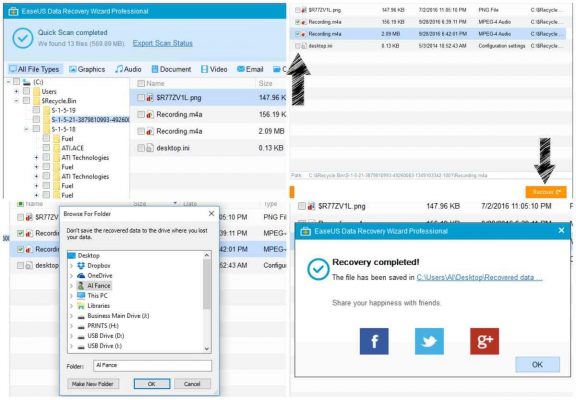
After clicking on the “Recover” button, you will get to see a screen which says that select a location where to save your recovered files and at the same time it will give you a warning as well that do not recover your lost files on the same drive in case it is damaged. It is a good suggestion that you should always save them in a new drive. But if your recovered drive is not damaged then I guess there is no harm in saving the recovered files in the same drive.
So this is all that I could share it with you guys from my personal experience with EaseUS Data Recovery Wizard. I guess it is one of the best and most reliable recovery software I have ever come up with. It offers you to recover 2GB of data for free on a trial version, but if your data is more than 2GB and you are desperately in need of the deleted files, then there is no better option than purchasing the full version of this recovery software.


Its a really great software. I was very much inspired after seeing this wonderful software. Thanks for the post.
great content.. thank u for sharing